How to give students access to applications
There are a couple of ways that you can allocate students to applications on Nessy*.
Method 1:
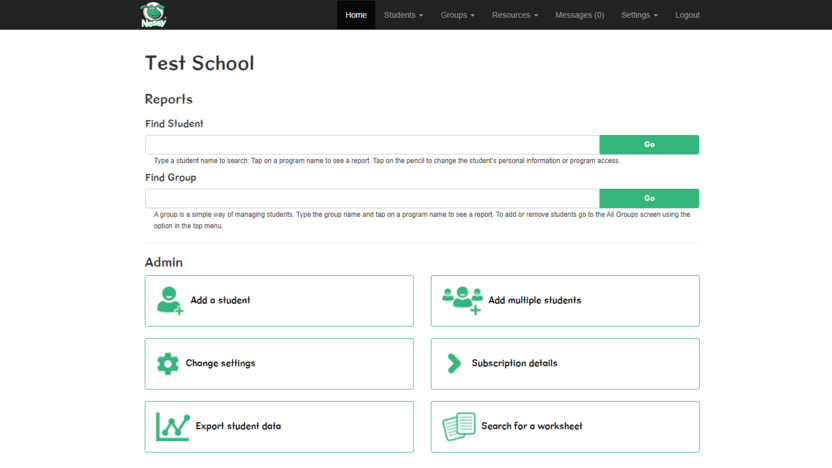
1. Log in to Admin & Reports
2. Click on Students > All Students at the top of the screen
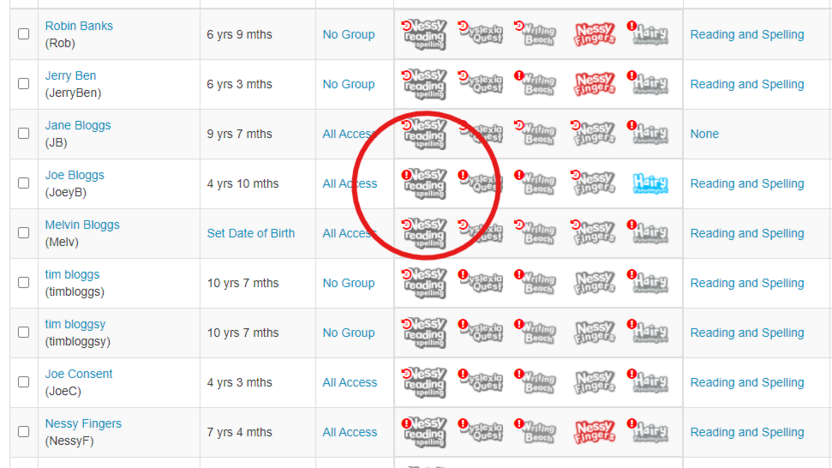
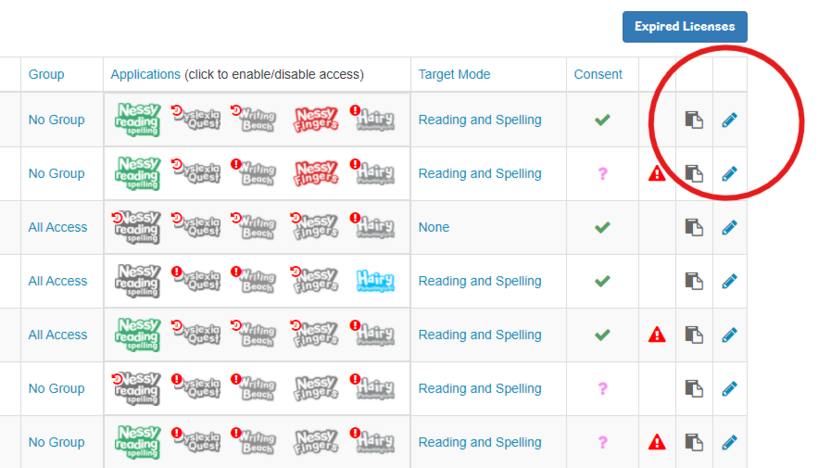
3. Find the student in the list and click on the application icon that you would like them to access* When the application icon is coloured this means that student has access to that specific application. If the icon is greyed out it means they don't have access.
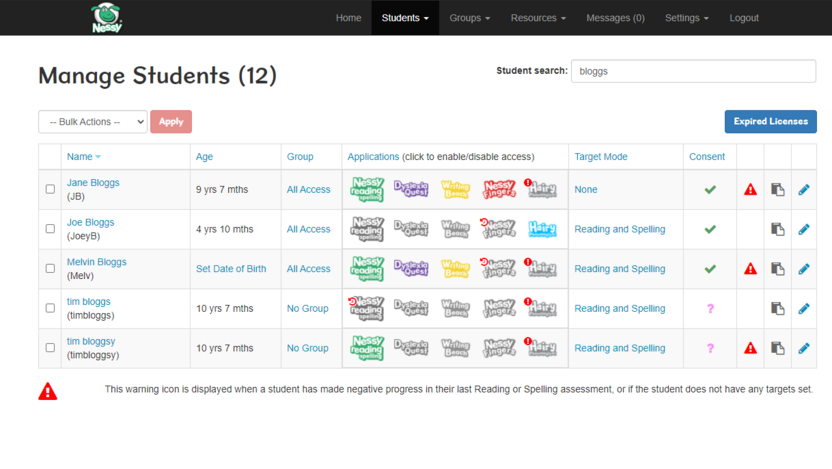
If you can see a red circle with an exclamation mark inside this means that you do not have enough free licences to be able to give another student access
Method 2:
1. Log in to Admin & Reports
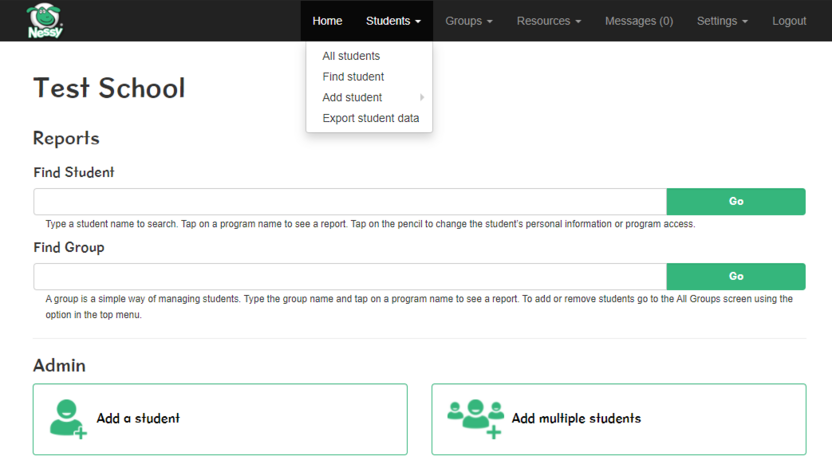
2. Click on Students > All Students at the top of the screen
3. Find the student in the list and click on the blue pencil.
4. From here you can edit application access by clicking on the program logo. If the logo is coloured the student will have access to that program. If it is greyed out they won't have access.
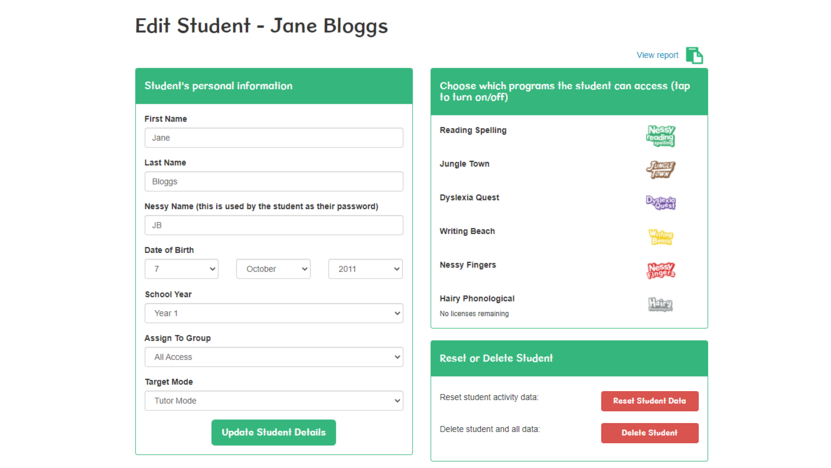
Subscriptions are required in order to assign access to a program.